0

As much as I hate to admit it, I have upper lip hair. It is not very noticeable at least that is what I keep telling myself, but once I notice it, I can’t unsee it! Even though I have no problem using wax strips on my legs and underarms. I have a fear of using wax on my face. Since skin on our face is very sensitive.

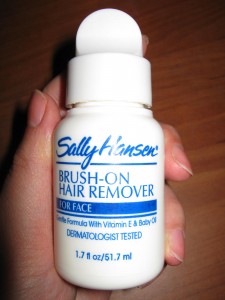
Because I have used a lot of Sally Hansen products in the past, I decided to give their Brush-On Hair remover a try.

The formula is a thick white paste with a brush connected  to the top cap. Unfortunately, the whiteness of the paste made it impossible to take a decent picture of the brush with flash. This formula does not have a pleasant odor. The order made me think of hair salons and the chemical they put in hair when perming.

The instructions say to shake well and brush onto area where hair is and let it sit for 2 or 3 minutes before wiping it away. Of course before putting it on my face I tested the formula on a small patch of skin in the inner area of my elbow. When the first test run produced no irritation I applied it on my upper lip.

The solution did not smell good in the bottle and did not smell any better right under my nose. After three minutes, I wiped off most of the hairs on my lip. So the product worked, but the problems occurred afterwards. My upper lip skin was very sensitive for the next couple days. In fact it was so dry I had to constantly moisturize that area.

So I most likely will not be experimenting with this bottle of hair remove again and find a less burning chemical method of removing facial hair.


0

I reviewed an Ecotools set awhile back and fell in love with the softness of the brushes. A year later, I finally gotten around to getting another Ecotools set. This time I decided to try out the Eye Brush set.

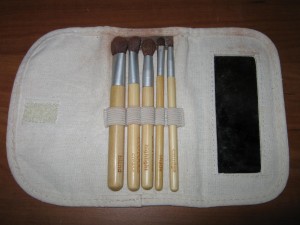
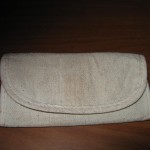
The Eye brush set consists of 5 brushes and a reusable natural cotton and hemp travel case. The travel case is a folding case that has a mirror on one fold and has elastic bands that hold each brush in center fold of the case.

On the handle of each brush, the brush type is printed on the handle in case you are not sure what the function of each brush is.

The five brushes in this set include:

  • Large Eye Brush (Blend)
  • Angled Crease Brush (Crease)
  • Highlighting Brush (Highlight)
  • Petite Eye Shading Brush (Shade)
  • Smudge Brush (Smudge)

I love the five brushes in this set because they are all the brushes I need to do my eye makeup, and it is a great size for travel. However, the bristles on these brushes were not as soft as the bristles in the previous set that I reviewed. These brushes are still soft, but in comparison to the mineral brush set they are rough, but still softer than any other cheaper brush brands.

Even though these brushes bristles are not as soft as the other set, the brushes are still good; I find them to be very convenient for travel and everyday use, and I highly recommend them.


0

I’m always on the hunt for a great eyeliner for my waterline that doesn’t run down my face after 15 minutes. After much blog hunting, I read up on traditional Indian kajal eyeliner and thought I would give it a try. Indian kajal is not exactly a cosmetic item as it’s used by many as preventative eye care and treatment. The herbal ingredients are supposed to pamper your eyes and help grow eyelashes.

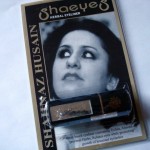
When looking for a kajal, you have to be careful what you buy because some brands may contain lead. You can read this report from the NYC Dept. of Health about lead being found in certain brands of kohl, kajal, and surma. After more research, I came across a few reputable brands and decided to try Shaeyes Herbal Eyeliner by Shahnaz Husain.

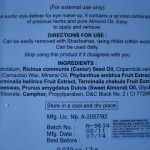
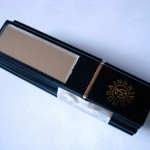
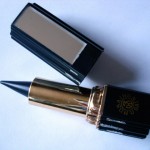
The product is packaged very simply. On the back are directions and a list of ingredients. The two items that aren’t exactly natural is the polyparaben and the coloring, but you’ll find both of those in commercial eyeliners so I wasn’t very concerned. The eyeliner comes in a lipstick tube with mirror on the cap. There’s a holographic sticker sealing the tube that was kind of a pain to remove, but I guess that’s okay. The plastic of the tube does feel a little cheap, but I think it will hold up fine.

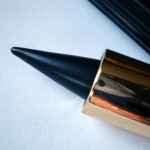
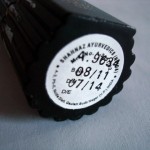
Taking the cap off, you’ll see that the product is a cone shape that twists up just like a lipstick. At the base, there is a sticker indicating when the product was made and when it will expire. I  actually wish all cosmetics had expiration dates on them! Big plus here.

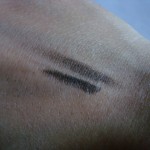
The first photo below shows one line of the eyeliner and another above it smudged. The liner is very creamy and applied smoothly with little pressure. This is not a waterproof or smudgeproof product! I knew that going in, though so it didn’t bother me.

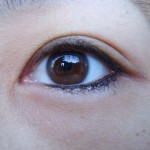
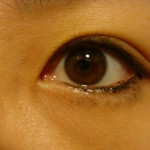
The middle photo shows the Shaeyes kajal freshly applied. It wasn’t as scary to use such a giant applicator as I thought and it was easy to work with. I really like the way it looks… and wish it would stay all day. The third photo shows what the eyeliner looks like after 2 hours.

It should be noted that I did not apply any primer nor did I set the eyeliner with powder. For subsequent applications, I used liquid liner in the lower lashline, the Shaeyes on the waterline, then set it with black eyeshadow. This kept the product from running under my eye, but after about 4 hours it was mostly gone from my waterline and gathered in the outercorner.

The plus side to this kajal – and probably others – is that it’s easy to just swipe it away from your under eye area. If you kept the kajal in your purse, you could reapply it as needed. However, I’m not someone who likes to mess with my makeup through the day so I would find it to be too much of a hassle.

Overall, I do like this kajal but it’s the first one I’ve tried. There are a few other brands that are popular in India that I might purchase in the future (Himalaya and Lotus) as well as German brand Lakshmi (see this review), but that one is rather expensive.

I purchased this kajal from ShahnazHusainUSA, a NY based distributor for Shahnaz Husain products. It cost $10.99 with free shipping and arrived quickly.


0

Because I am very lazy when it comes to shaving I will endure pain to get away with shaving for a couple weeks.

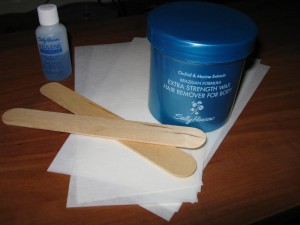
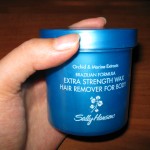
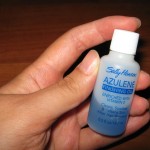
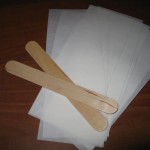
The Sally Hansen Brazilian Formula All-Over Body Wax Removal Kit comes with the Brazilian Formula Wax, azulene finishing oil, 8 natural wood spatulas, and 20 cloth strips.

The Brazilian Formula wax contains orchid and marine extracts and has a light vanilla scent. You only need to heat the wax in 15 seconds increments until it softens. It works pretty well on my leg hair. Underarm hair extraction is decent, but not very good. I still end up tweezing or shaving the left over hairs.

The azulene finishing oil is used to clean off the wax that is left behind after the waxing treatment. If you don’t use it, the wax will stick stubbornly to your skin for a while, and the wax will stick to pretty much anything and scrubbing doesn’t seem to work as well as the oil. So spare your skin and use the azulene oil as I have learned the hard way.

For a waxing product, this wax smells nice and works rather well. It isn’t too messy, just the usual mess you’d get from the usual waxing procedures.


0

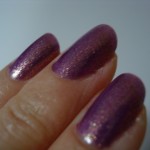
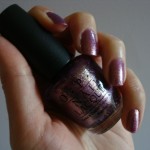
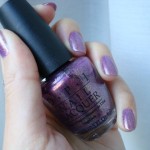
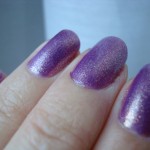
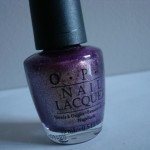
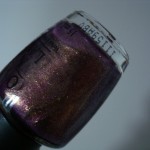
I know this review is about a month late, but for the new year, I decided to use OPI’s It’s My Year from their 2011 Miss Universe Collection. The name alone seemed to be a good way to start the year.

This pretty plum colored polish has fine gold shimmer and looks great with just two coats, but you could use three for more opaque color.

With base coat and top coat, this manicure last about a week with minimal edge wear before I switched it out for a new color. Removing was easy with no staining, but the bits of glitter did get on the skin. It was easy enough to clean that up with some extra remover.


0

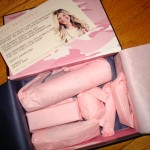
My second Beauty Army box arrived this weekend! I know I shouldn’t be so excited about what’s inside since I pick my own samples, but I usually forget what I’ve selected by the time it arrives.

This month, the items were all packed more securely in the tissue, which was greatly appreciated. I love the quality of the boxes – with some creative upcycling, these will make great gift boxes.

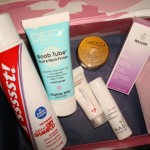
My six samples this month were mostly skin care items:

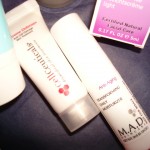
I’m collecting a small grouping of LaRocca and CellCeutical items and I’m waiting to use them all at once when I finish some other samples I’m using, so I can’t say much about those yet. I like the fact that LaRocca products are free of a lot of chemicals like parabens, PBA, DEA, TEA, mineral oil, and phthalates.

The Mama Mio Boob Tube has a fresh citrus scent and a smooth texture. It’s free of parabens, which is always a great aspect of a product. I’m still a bit young to be worrying about skin firming, but I’m not too young to think about it so I’ll definitely be giving this a try.

Currently, I’m using Tresemme’s dry shampoo which works okay, but isn’t the best. I don’t like to wash my hair every day because it gets dry and brittle, but skipping two days makes my scalp feel greasy, so I often use a dry shampoo to absorb some of the oil. I can’t wait to try the Freeman Beauty dry shampoo and see how well it works.

Finally, I’ve seen Weleda products in Target, but never bothered to try them, so I’m looking forward to using this when my current moisturizer runs out.

Beauty Army is a new sample subscription service. For $12 per month, you can choose up to six large samples to be mailed to you.


0

Hi, everyone! I am quite excited by this month’s Birchbox because there was an amazing item inside! Let me just show you what was in my box this month.
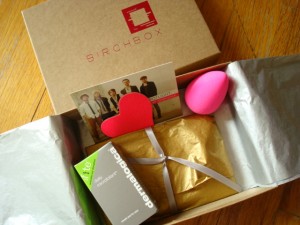
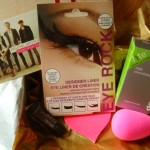
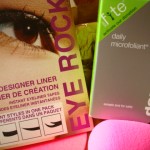
Here’s a listing of the items:

The Eye Rock liners look pretty cool and I might try those out when I go to a convention next weekend. I haven’t used the Dermalogica exfoliant yet since I’ve still got a few I’m working through, but I definitely look forward to trying it out. Here are some swatches of the Jouer tinted moisturizer:
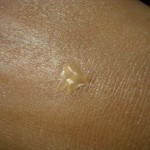
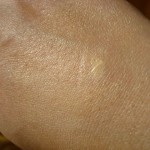
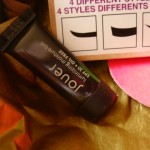
I thought the Jouer Moisture Tint sample in Pearl was a good color match. It wasn’t oily, but there was thin coverage. I would consider getting this if it weren’t for one thing: the very fine shimmer. I know it’s a luminizing tint, but it was ridiculous amount of sparkle. I’ll pass on this, but if Jouer ever comes out with a non-luminizing version, I would definitely want to give it a try.

And now… the free Beautyblender! The day before this box arrived, I was actually about to purchase the Sonia Kashuk imitation blending sponge. So glad I didn’t! I’ve been using my Beautyblender to apply tinted moisturizer and it works great. I’m going to try using it to apply BB cream and mineral foundation to how well it works with those since I’m actually having difficulty finding a tinted moisturizer that like.

If you haven’t seen the Beautyblender before, it’s an egg-shaped latex-free cosmetic sponge. When you wet the  Beautyblender, it will expand to twice its size. Squeeze out the water so the sponge is just damp and then you apply your foundation or tinted moisturizer using a stippling, bouncing motion. There are lots of reviews and tutorials on YouTube if you need more instructions.

There are things I don’t like about the Beautyblender, of course. First, a single sponge costs $15 or you can buy a set of two for $25 – I feel like that’s a lot to spend in a sponge that you’re supposed to switch out every 3 to 6 months. Cleaning is also more involved than with a brush or the usual sponge. The company advises you purchase their special cleaner, but I’ve found that gentle shampoo or makeup cleanser work. Right now I’m using Body Shop’s Earth Lovers Shower Gel and it works great.

One tip for cleaning the Beautyblender: don’t wash it right away. You can try and rinse out some product after you finish your makeup, but I find it’s much easier to get the Beautyblender totally clean if you let the sponge dry for a few hours first. So, put your make up on, try to rinse out extra product if you want, then just put it somewhere and come back in a few hours. When you’re ready to clean it, dampen the Beautyblender, massage in some of your chosen cleanser – as you squeeze the suds out, you’ll see your foundation or whatever in it. Rinse out all the cleanser and set the sponge out to dry overnight. Easy!

My mother is subscribed to Birchbox as well and sometimes she’ll give me something from her box. This month, she had no use for  the Juice Beauty Blemish Clearing Serum.
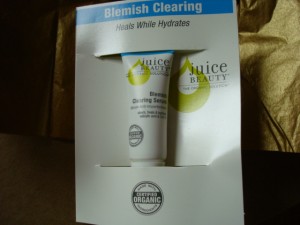
I love this stuff! After washing my face at night, I put a little bit of this serum on any flare ups and in the morning they’re greatly reduced or gone. I will certainly be buying a full size when I run out of this sample size.

Birchbox is a monthly sample subscription service. For $10 per month, you’ll receive a box of 4 or 5 items just for you, based on a survey you will out when you sign up.

1

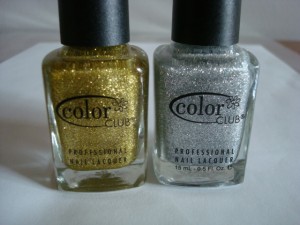
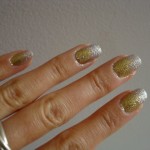
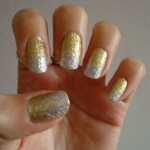
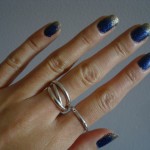
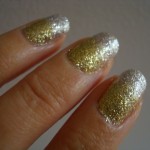
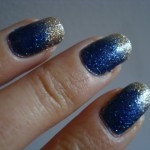
This look is a little bit late, but for Christmas I decided to do this silver & gold glitter gradient manicure. I was inspired by this great metal ombre manicure by Karen from Makeup and Beauty Blog.

For my two metals, I used Color Club Gold Glitter and Color Club Silver Glitter.


I applied two coats of Silver Glitter first, then slowly built up Gold Glitter from the  base of each nail. The final result is a very subtle look – the gold I picked is a bit too silver and in daylight it’s hard to see the gold. In indirect light, the gold is more obvious.

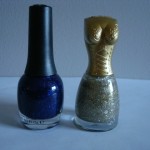
This was a fun manicure and I wanted to try it with silver and blue colors for New Year’s. This didn’t really work as well since I used a blue glitter that had a blue tinted base rather than a clear base.

For this look, I used Finger Paint’s Easel-y Entertained and Scandal’s Diamond Pearl.

I wasn’t a fan of the look, but I got a few compliments. Next time I will definitely try this with a clear based blue glitter.

If you have a few glitter polishes, I definitely suggest trying out a manicure like this. They’re very fun and easy to do!


0

As with the previous Del Sol nail polish review I’ve done, the coating of the polish is quite sheer, and I had to put on four coats of the polish to get the red pictured here.

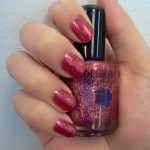
1. Taken indoors

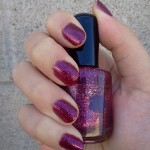
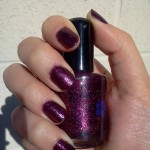
2.   Outdoors under shade            3. Under the sun

Heartbreaker is a red polish with red and silver glitter mixed in the polish. I was hoping this red polish to be a deeper red color, but it seems more of a berry red color indoors even after four coats. However, under the sun, the polish transforms into a deep plum color. So you can go from fun flirty red to vixen vamp by just walking outside.

Without a top coat, the polish only lasted a disappointing two days before chipping.
I would still use this polish because the color is a fun red, and who doesn’t love watching their nails change colors under the sun?


0

Previously, I reviewed the Eyeko Curvy Brush Mascara and I wasn’t super-impressed with the results. Well, I decided to give Eyeko another try and picked up a Fat Brush Mascara from Henri Bendel while I was in Manhattan in December.
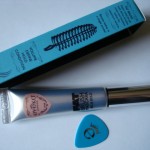
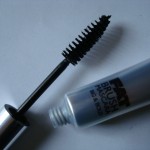
The Fat Brush boats smudge free volume, so I had to give it a try on my short, fine eyelashes. Here’s a look at the packaging and the brush:

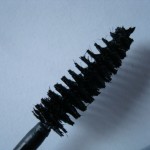
You can see the fibers on the brush in the last picture, which help in giving the lashes length and volume. I found the formula to be a good consistency – not too wet or goopy. also included is an Eyeko shield, which I still haven’t figured out how to use.

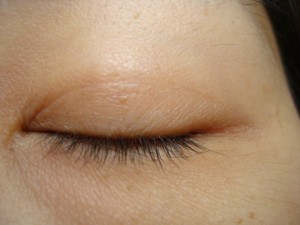
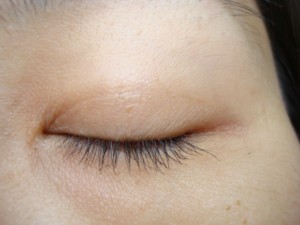
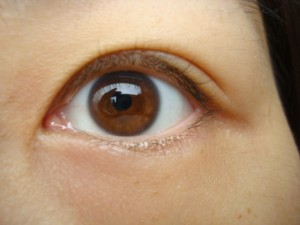
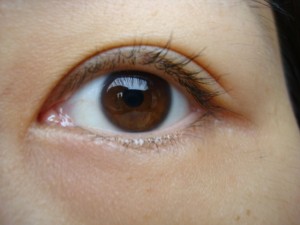
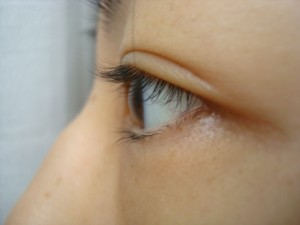
Here are some before and after photos:

As you can see from the photos, Fat Brush doesn’t add a ton of volume with the two coats I applied. It does add some length, though, and I can get a little more volume if I apply additional coats quickly before it dries. Lashes  don’t get crunchy once dry, so that was a plus.

There was no flaking during the day and the mascara looked as good at the end of the day as they did after application. Removal was easy with some warm water and light rubbing like you do with any fiber/tubing mascara.

I do like the Fat Brush mascara better than the Curly Brush mostly because of, well, the brush. I think the formulas are pretty similar. An Eyeko representative suggested that I might like the Skinny Brush mascara, so I might try that next.

Eyeko mascara is available online, at Asos, Harvey Nichols, and Henri Bendel.