0

After I received my z-palettes, I started to research ways to depot my eyeshadows. But I was having trouble finding out how to depot bareMinerals READY Foundations.

So I decided to write up my own tutorial for it. Figuring it shouldn’t be too hard, right? Famous Last words.

Depotting tools

Tools:

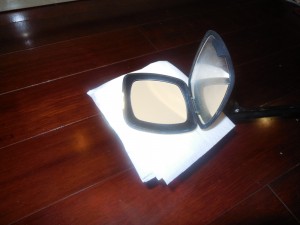
  • bareMinerals READY compact

  • X-acto Knife (or anything flat and sharp)

  • Halogen Lamp (I got the lamp idea from Beauty Vibes, like her, I don’t have a flat iron.)

  • Tissues and/or paper towels

  • Nail Polish Remover or Rubbing Alcohol

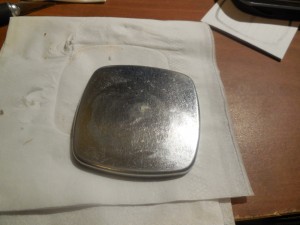
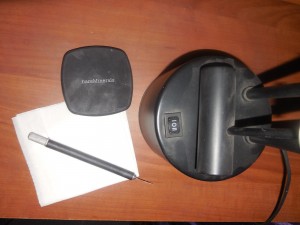
Basically all you need to do is place a tissue paper over the lamp face and place your compact on the lamp. Since my lamp doesn’t turn upside down easily. I had to lean it on its back, balance it between two boxes, and work very hard to not burn myself.

Compact on lamp

I let the compact sit for about 2 minutes since my lamp gets very hot very quickly. If after 2 minutes and the pot still won’t budge, I’d put it on for another 2 minutes. But usually after about 5 minutes the pot is already very hot, and you don’t want to melt the container.

Wedging x-acto   Pop out pan

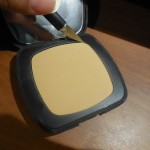
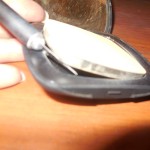
When the container is hot enough, take a X-acto knife and wedge it into the gap between the pot and container. Then carefully try to wedge the pot out. This takes some patience. If the pot is still being stubborn, let it heat on the lamp for another minute and try again. Eventually the pot will pop out. Depending on the contents, there is a possibility of it cracking a bit. For the READY foundation, bronzer, and blush, I didn’t have any cracking problems at all. However, for the the READY Touch-Up finishing Veil, I did have minor cracks along the side. But not enough to be considered damaged.

I used the same method to depot the bareMineral concealer as well. You don’t have to worry about that cracking since it’s a cream. Just be aware that it might melt a bit from the heat. Just let it sit for a bit to “harden” before you start working on wedging the pot of the container.

glue back   cleaning

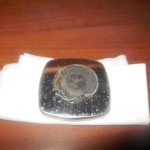
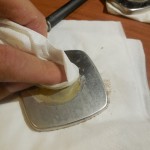
After struggling with the container to pop the pan out, I placed the product face down on a paper towel and used nail polish remover on another paper towel to rub the tacky glue from the bottom of the pan. You can use rubbing alcohol, but I found the acetone in nail polish remover to be much more effective in removing all the residue.

Clean Pan

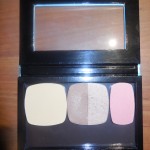
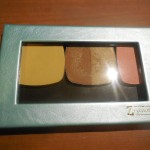
Once the back is clean, you can pop your depotted makeup into your magnetic palette of choice. I highly recommend z-palettes.

Z-Palette Open   Faux Blue Leather_4U

WARNING: Halogen lamps are VERY HOT and once you remove your compact from the lamp face. DON’T FORGET to also remove the tissue you place between the compact and the lamp face. You don’t want the tissue to burn and start a fire. I may have left a tissue for over five minutes once and it started to smoke.
0

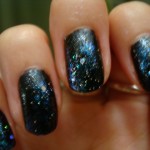
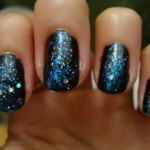
Early in September I was heading to DragonCon, a yearly science fiction convention held in Atlanta, and I wanted to do a fun look for the weekend. I came across Asami’s Space Nails tutorial and I had to try it out!

The looks requires three or four different polish colors and a textured paper towel to sponge on some of the design. I didn’t have the exact polishes that Asami used, so I picked ones I had that were closest.

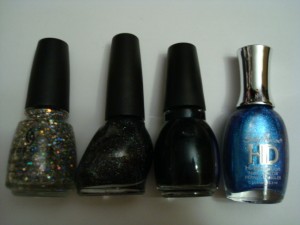
From my stash, I found China Glaze’s Techno (large holo glitter), Pitch-Black Glimmer from Nicoole by OPI (black with silver glitter), What’s Your Name by Sinful Colors (black with purple/blue micro glitter), and Sally Hansen HD polish in DVD.

Next, I followed Asami’s video tutorial:

The results are pretty great! I love the bits of glitter that catch the light and the subtle clouds of blue.

There are parts I’m not completely happy with, of course, but overall this was fun and easy to apply. It didn’t take much longer than a regular manicure to apply since the layers were thin and dried quickly.

Can’t wait to apply this design again!


0

I’m a huge fan of Konading and even though I don’t find it to be problematic, I do think it can be a bit messy and time consuming. Sometimes I have a problem getting the designs aligned  correctly while stamping. Recently, I reviewed the bigRuby Nail Tattoos, which were pretty great, but I found them to be a bit expensive with a very limited selection of designs.

Well, I’ve just tried Viva La Nailswater slide nail decals and these things are so easy to use! There is a wider selection of designs, and while most of them are black or white designs, there are some full color sets as well.

For my first order, I bought six packages at £1.95 (~$3 US) each and overseas shipping was reasonable. Each package is one sheet and each sheet has 20 decals in various sizes for your nails.

In the second photo, you can barely see the outer edge edge of the design, which means there won’t be a lot of extra material on your nail where a design isn’t. Once you’ve got a top coat on, you can’t see it at all.

Now I’ll show you how I applied these!

(more…)


3

There are “how to fix broken makeup” tutorials all over the internet with tips for fixing various beloved pressed powder makeups that have been dropped on the floor and transformed from pressed to loose powder in the blink of an eye and probably a gasp. Since there are so many out there already, I’m going to add one more.

Last week I managed to drop a pressed mineral powder, and just two days ago, I dropped my eyebrow shadow. Needless to say both were decimated on impact with my hardwood floors. I couldn’t save my mineral powder since it decided to pop open and coat my floors with a nice beige color, but my eyebrow shadow remained safe within its container. Since I used this brow powder quite often, I couldn’t ignore its present state. So on with getting it fixed!

Exhibit A - "The Victim"

There is more than one method in fixing pressed makeup, but this is the method I’ve tried before and found it to work quite well.

Things you’ll need:

  1. One broken pressed powder makeup
  2. Toothpick
  3. Small plastic sandwich bag
  4. Scissors
  5. Rubbing alcohol or perfume
  6. Small spray bottle
  7. Tissue or toilet paper
  8. Quarter or any coin

Take the small plastic sandwich bag and open it up to a corner. Then take “the Victim” and pour the broken powder contents into the bag and make sure they settle into one corner.

If there is some excess powder clinging to the pan, just take the toothpick to scrap off the powder and pour it into the bag.

I usually like to clean the pan with water then dry it off, but if this is part of a palette I would use a small moist paper towel to wipe it down instead.

Now back to the baggie with the powder. Use your fingers or, if you prefer, the base of a brush and mash all the larger chunks into powder. When you feel that you’ve gotten most of the chunks out, shake all the powder down to one corner of the baggie.

Take the scissors and cut the corner tip of the bag. Make sure the hole you cut isn’t too small or you’ll have a hard time shaking the contents out and it can get messier than necessary.  Usually I shake the pan lightly to make sure the powder is distributed evenly. When shaking is not enough, I use the toothpick and try to flatten the powder mound. I recommend doing this part over a tissue. As you can see, it can be quite a mess if there is a lot of powder.

After you manage to squeeze or shake all the powder from the bag, it is time to take the small spray bottle filled with rubbing alcohol, in my case, a small bottle of sample perfume, and spray it on the powder. I usually spray a pretty generous amount, some sites even tell you to spray enough to make it into a paste, but I prefer to spray enough just to moisten the powder.

Right after spraying the powder with your choice of nondrinking alcohol, take the tissue or toilet paper and place it over the powder. Take the quarter and place it on the tissue over the powder. Apply pressure on the coin and move it around in a circular motion. As you can see in the picture, I am tracing the inside of the pan with the coin. Note: I usually fold the tissue in half to absorb more of the alcohol, but it is not necessary depending on the thickness of the tissue used.

Feel free to spray more alcohol onto the powder and repeat the process with the coin until you get the desired smoothness. After you clean up the excess powder around the container, your done! Unless you’re a “closeted perfectionist” like me. This next part is optional.

Because unclean edges make me twitch, I took the toothpick and carefully cleaned off the outer edges of the pan and tapped off the trimmings. Now I’m done!

In a short time, the alcohol will evaporate and your loose powder is back to its original form of being a pressed powder. Also if you used perfume instead of regular rubbing alcohol, your newly pressed makeup now has a light fragrance. So I recommend using a fragrance you actually like because you will smell this when you apply your makeup.

And just for kicks here’s the “Before and After” comparison.

Exhibit A - "The Victim"